


Design Order Form
-
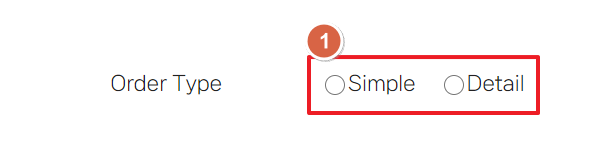
Select Order Type
① Select the Order Type between 'Simple' and 'Detail'
-
Design Order (Simple)
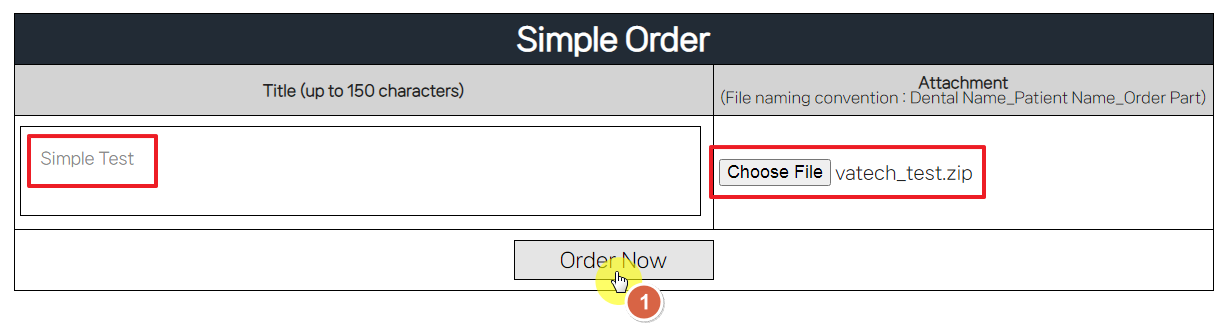
① Enter Title, attach the file, and click the 'Order Now' button.
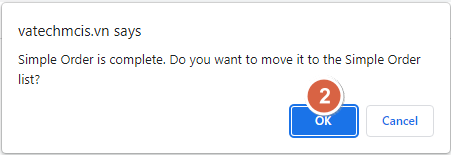
② Once your order is complete, click 'OK' and you will be taken to the Simple Order List.
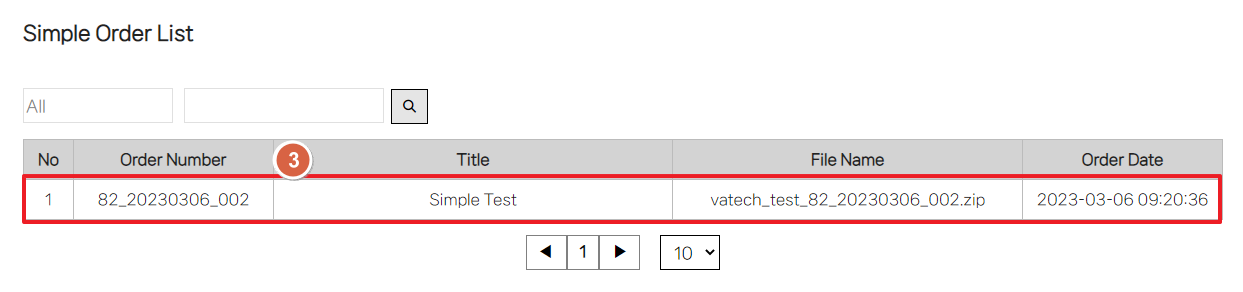
③ You can see that it has been added to the Simple Order List
-
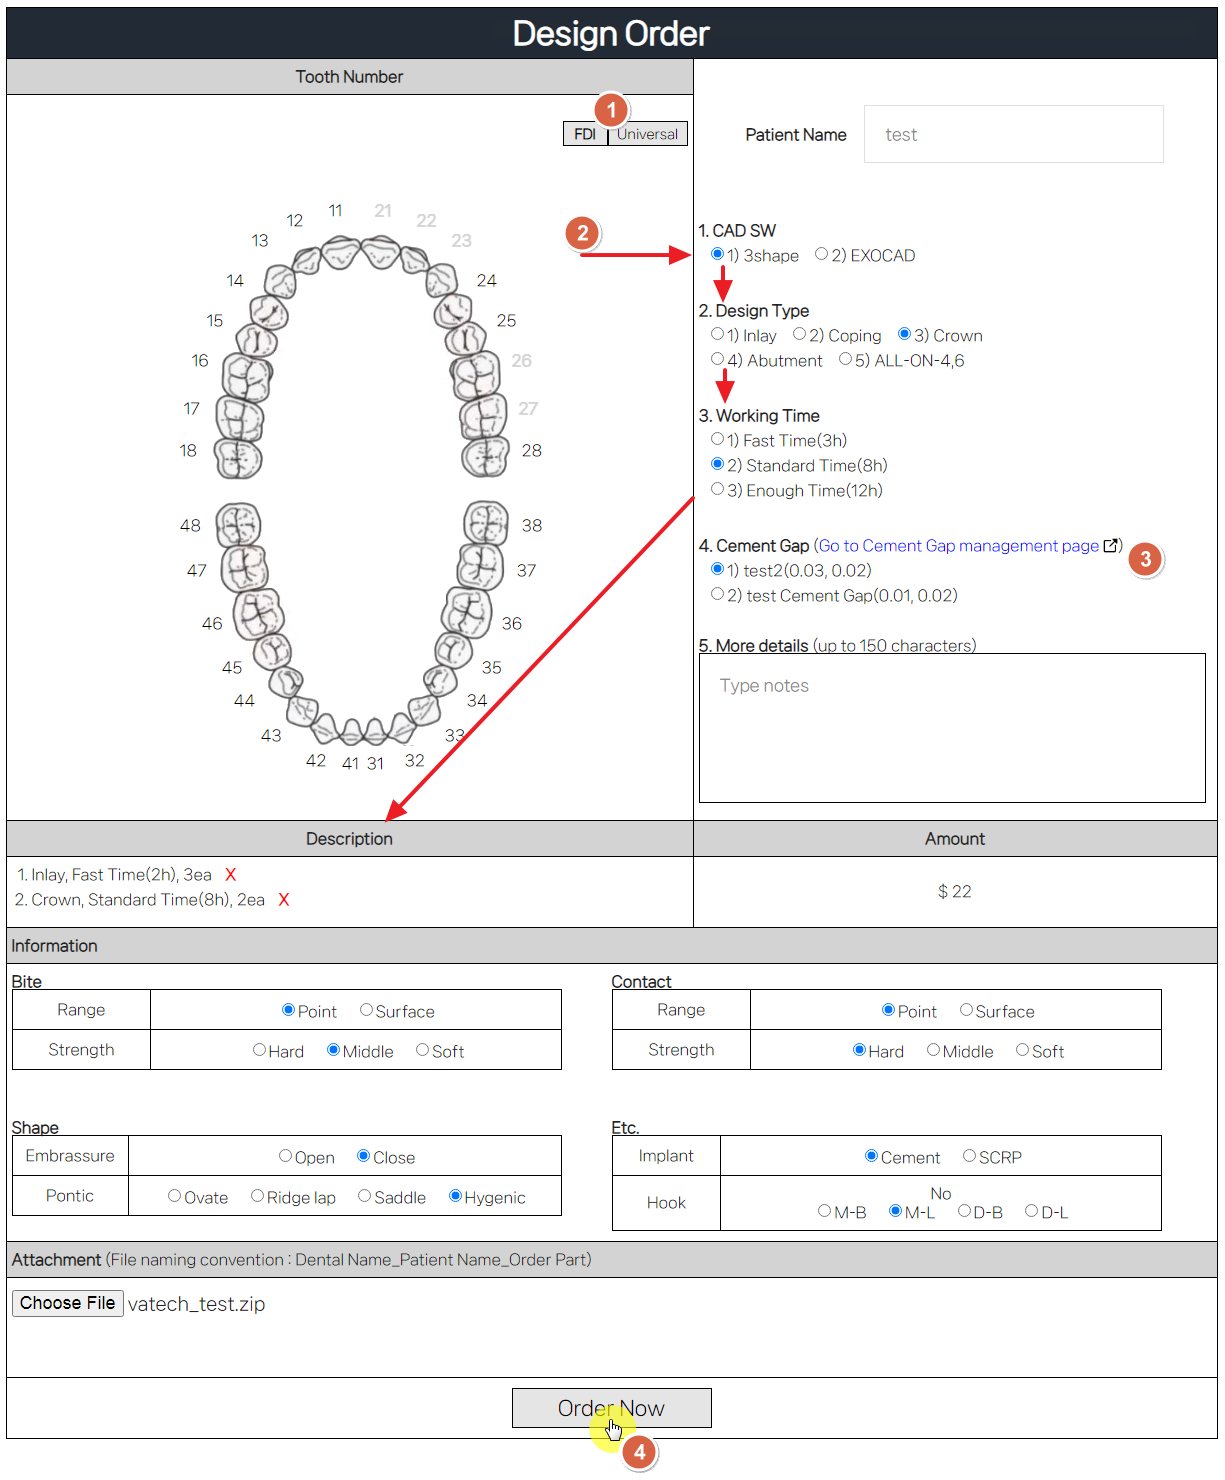
Design Order (Detail)
① Select the Tooth Number Type between 'FDI' and 'Universal'. (The tooth type you selected in your most recent order is automatically selected.)
② Select Tooth Number → Select CAD SW → Select Design Type → Select Working Time → Added to Description
※ Depending on the selected 'Design Type', the time for each item in the 'Working Time' varies③ The created Cement Gap Set is displayed. You can add/edit/delete from the 'Cement Gap management page' (Go to relevant manual)
④ Enter anything else and click the 'Order Now' button.
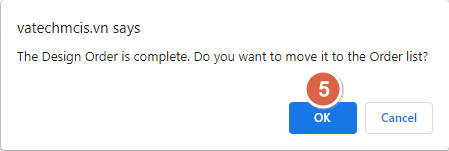
⑤ Once your order is complete, click 'OK' and you will be taken to the Detail Order List.
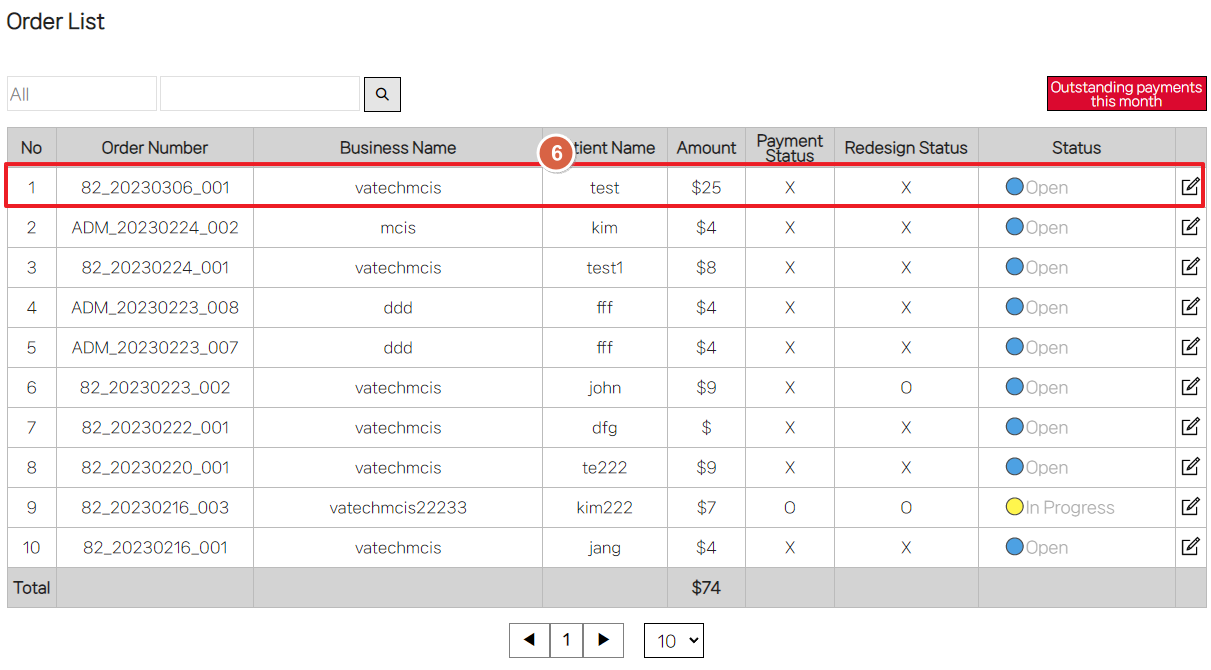
⑥ You can see that it has been added to the Detail Order List
-
Cement Gap
-
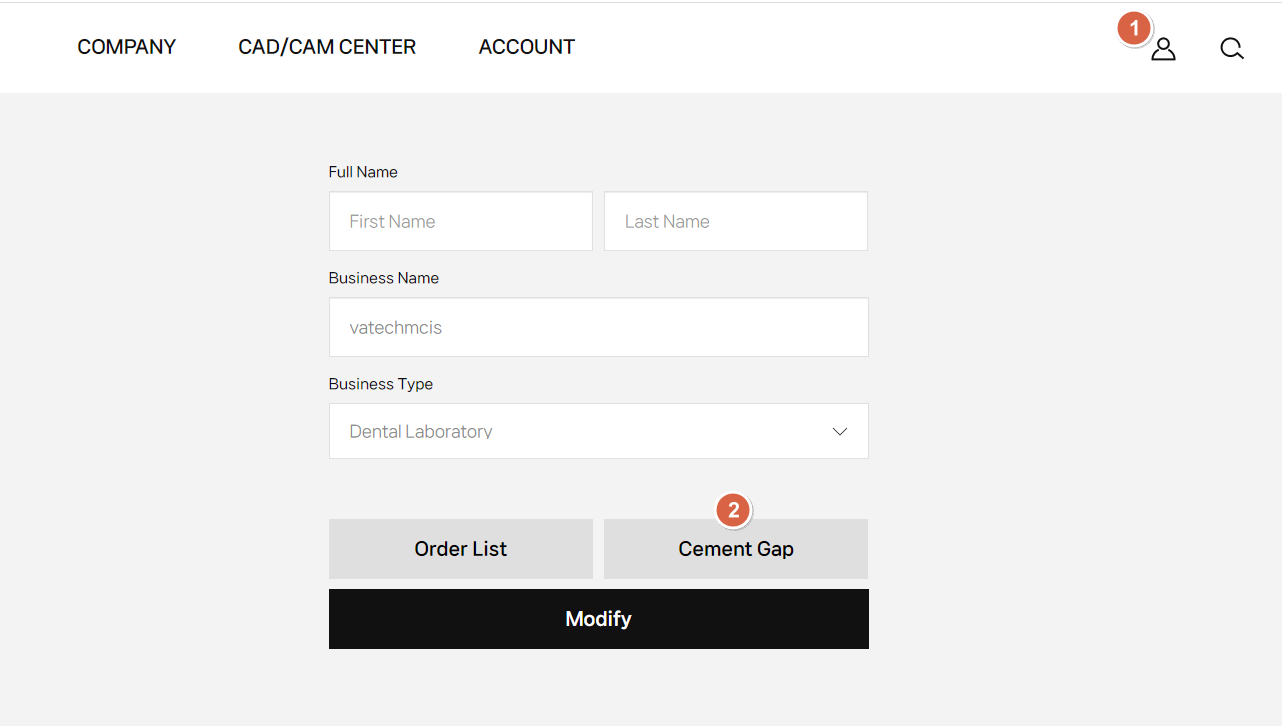
Go to Cement Gap management page
① Click the person icon at the top
② Click the 'Cement Gap' button at the bottom of the page.
-
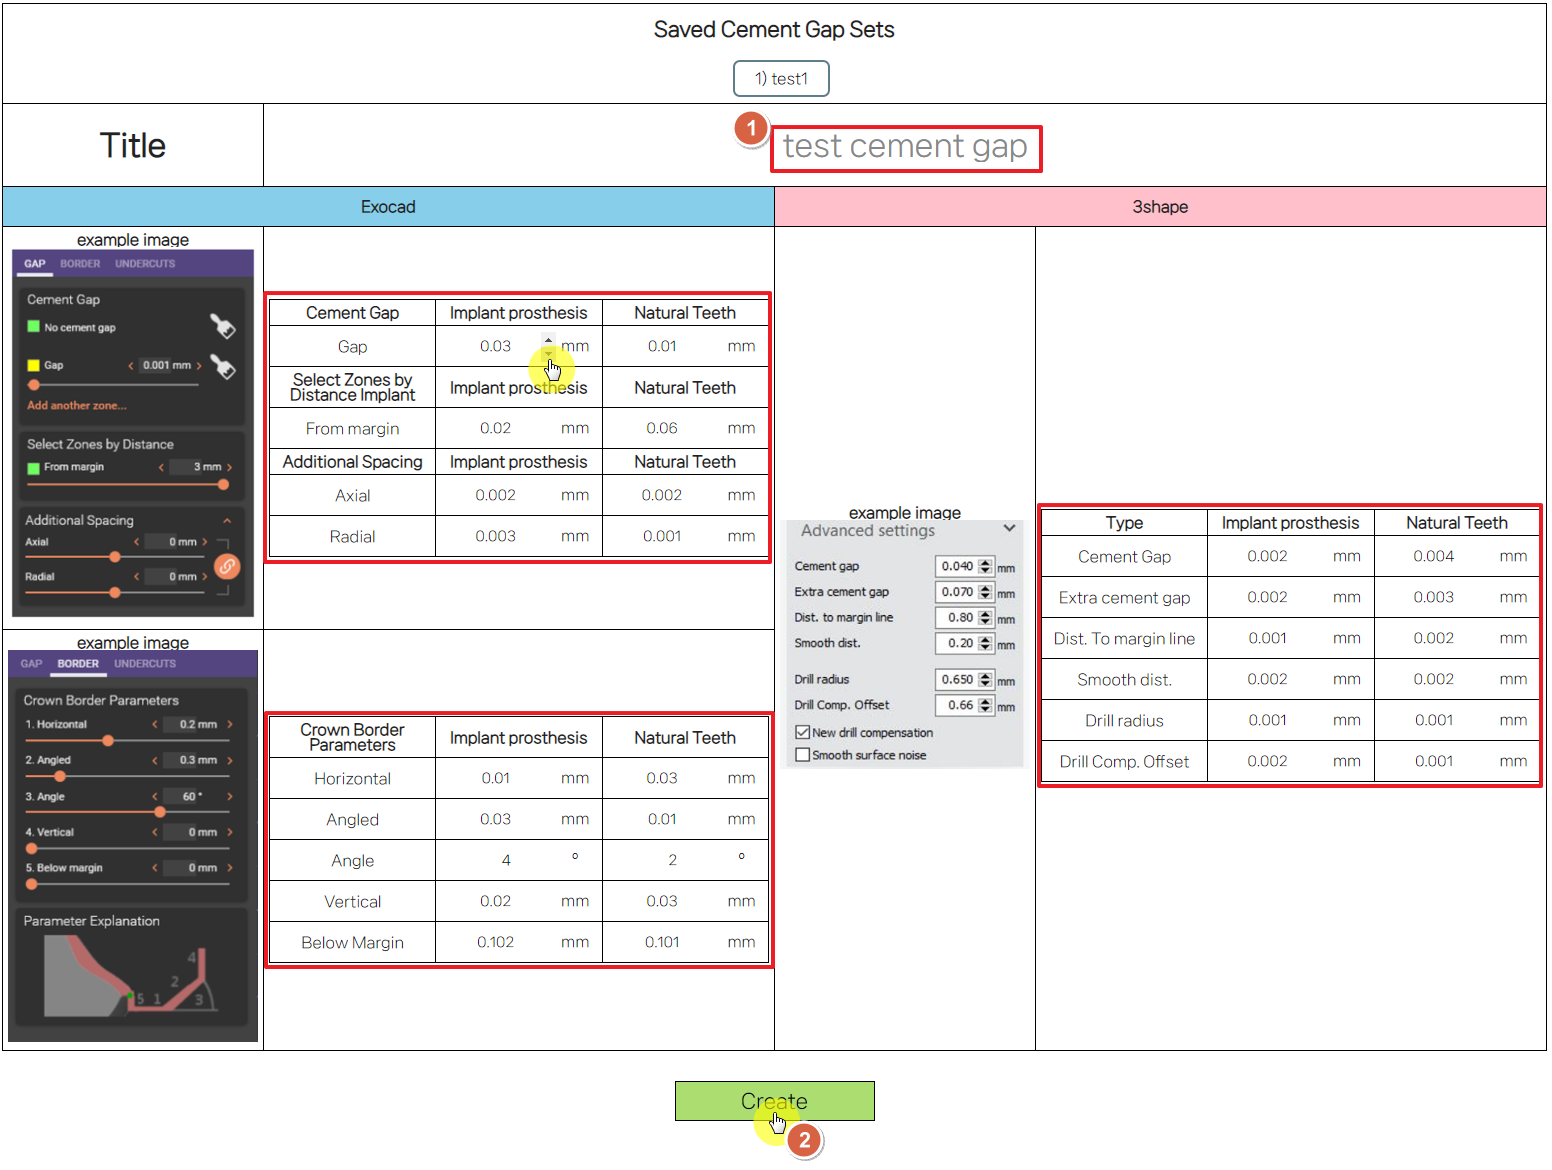
Create
① Enter the title and number of the Cement Gep Set. Figures can be entered with arrow clicks.
② Click the 'Create' button.
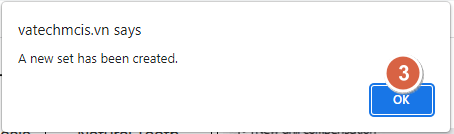
③ Click 'OK'
-
Modify
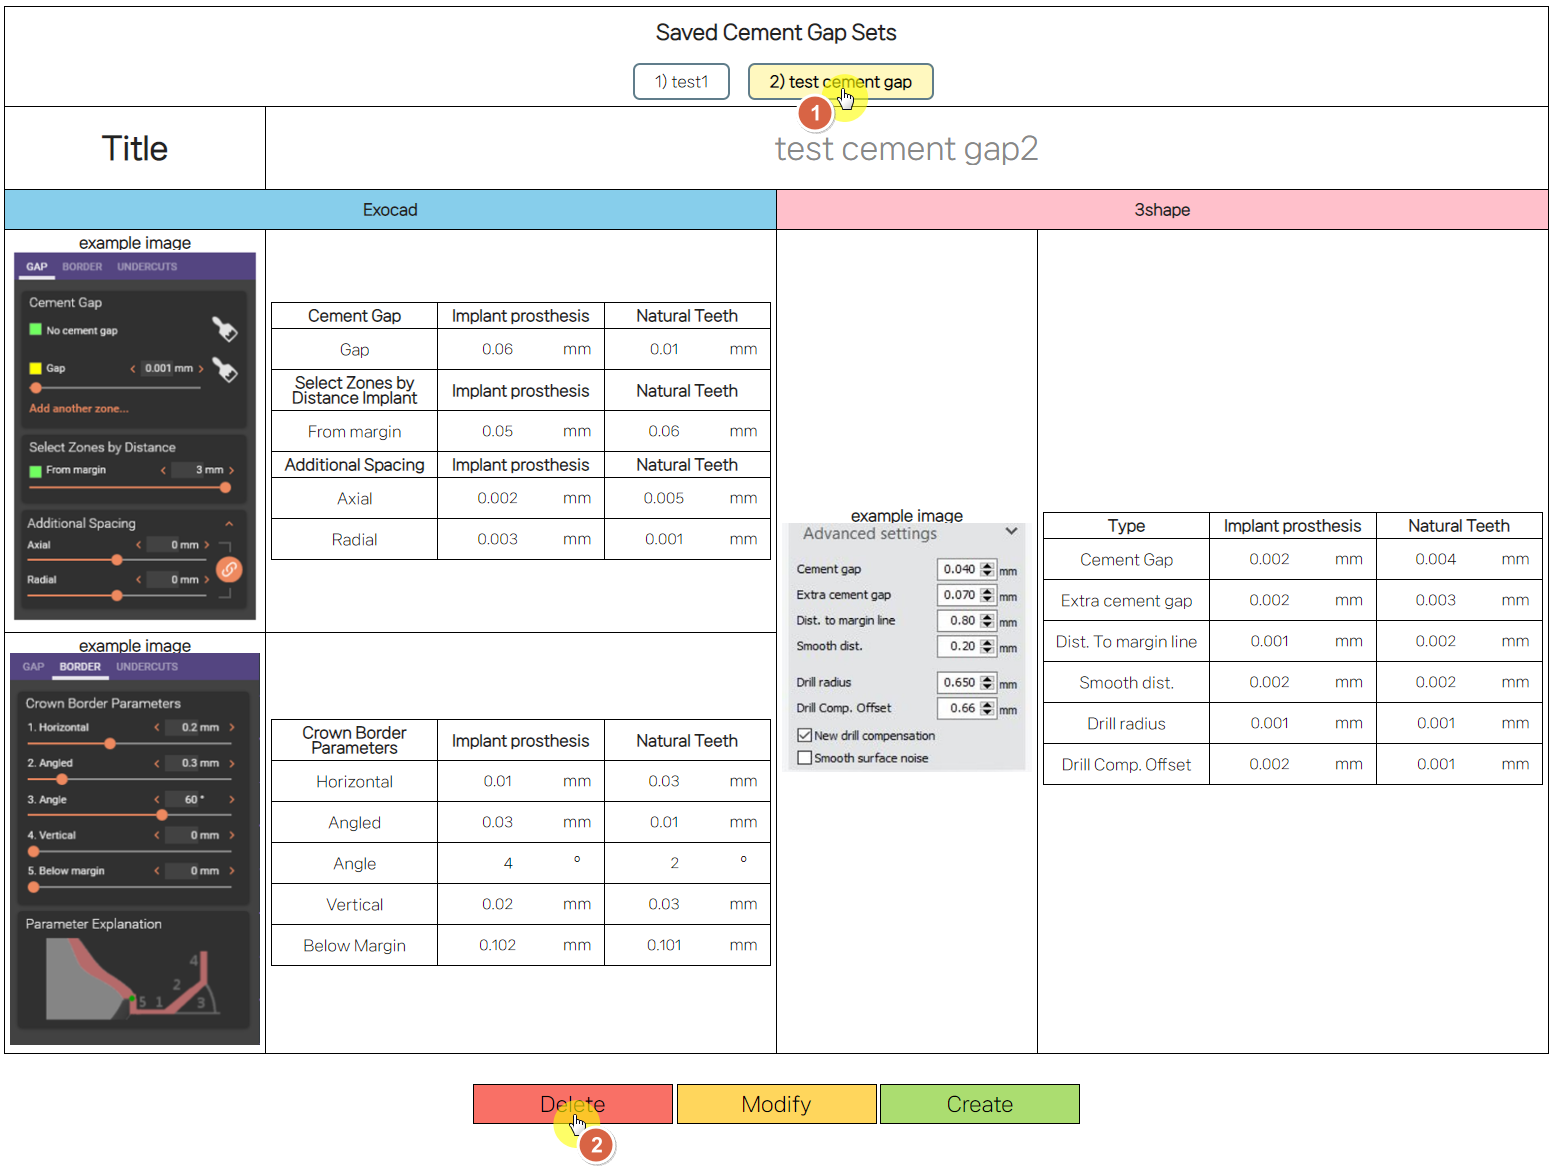
① Click the created Cement Gap Set, and edit the title and content.
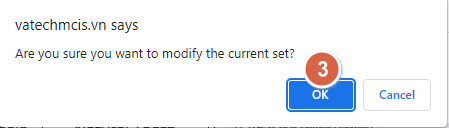
② Click the 'Modify' button.

③ Click 'OK'
-
Delete
① Click the created Cement Gap Set.
② Click the 'Delete' button
③ Click 'OK'
-
Design Order List
-
Detail Order List
① Clicking 'Detail Order List' will take you to the Simple Order List page. (Go to relevant manual)
② You can search by category.
③ Go to this month's outstanding history page (Go to relevant manual)
④ Indicates the current status of each order. (Only the '🔴Close' option can be selected, Other options can be selected by the administrator)
⑤ Edit your order
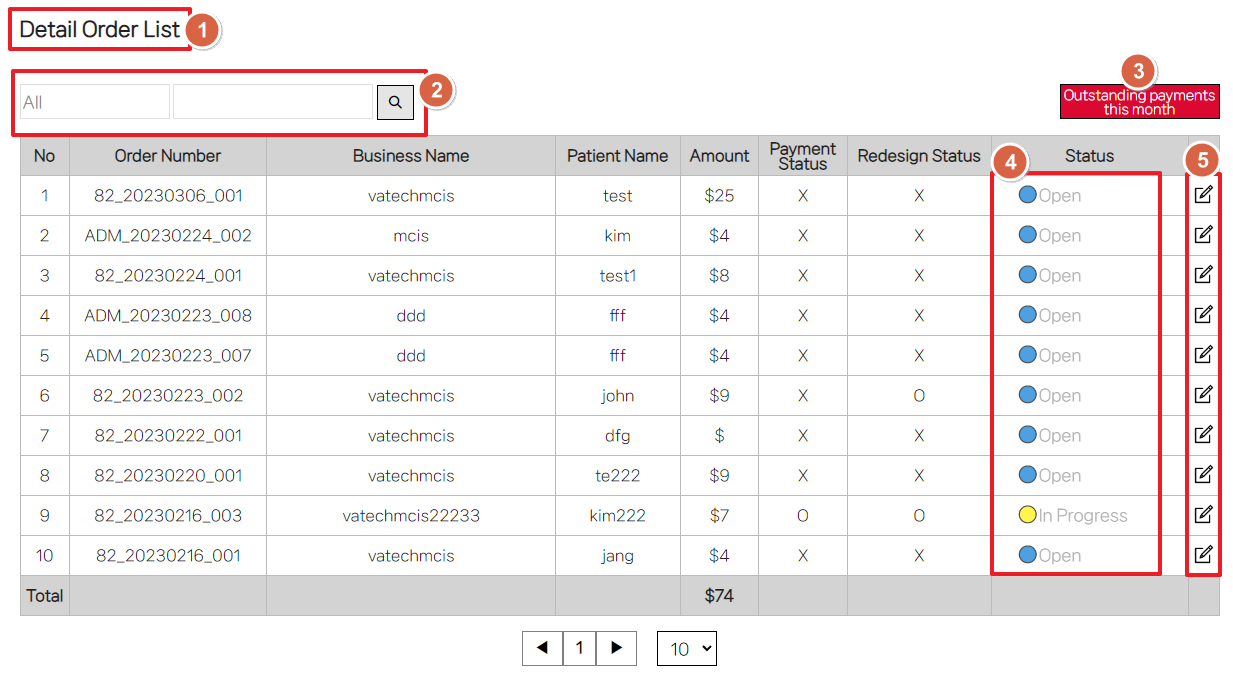
⑥ Click a row in the order list to expand the details.
- Admin File Name : The file was uploaded by an administrator. Click to download.
- Cement Gap : Cement Gap details will open in a pop-up window.
- File Name : Click to download.⑦ These are the buttons related to the order.
- Export PDF : Convert your order to PDF. (Go to relevant manual)
- STL View : A pop-up window opens where you can view the STL file uploaded by the administrator.
- Redesign : A pop-up window will open where you can redesign Order. (Go to relevant manual)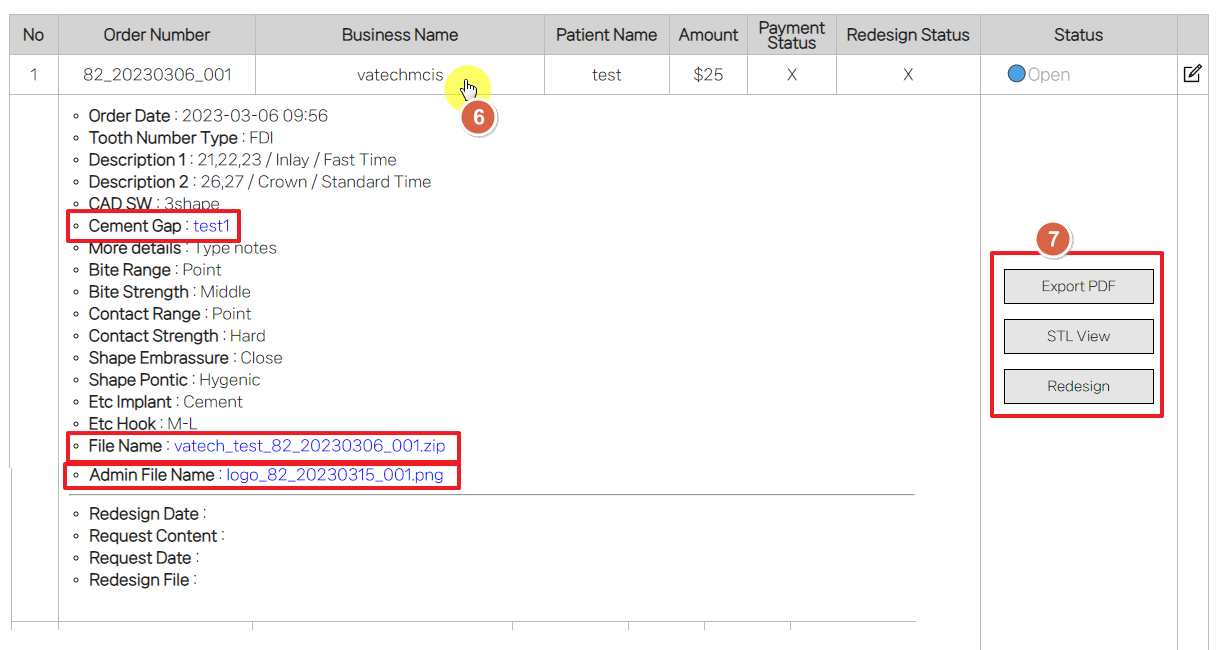
-
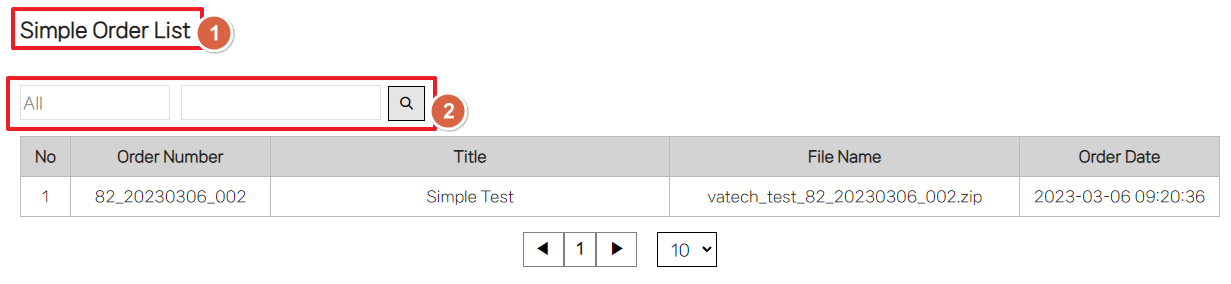
Simple Order List
① Clicking 'Simple Order List' will take you to the Detail Order List page.
② You can search by category.
-
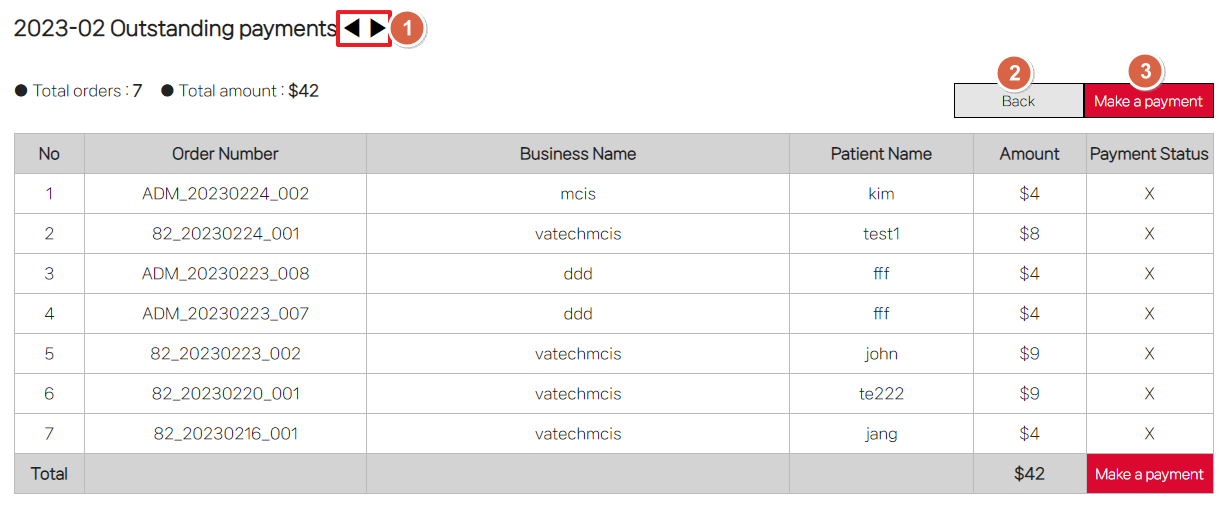
Make payment
① Click the arrow to change the month.
② Return to the Detail Order List page.
③ A pop-up window will open to pay for this month's outstanding orders. (Undergoing maintenance)
-
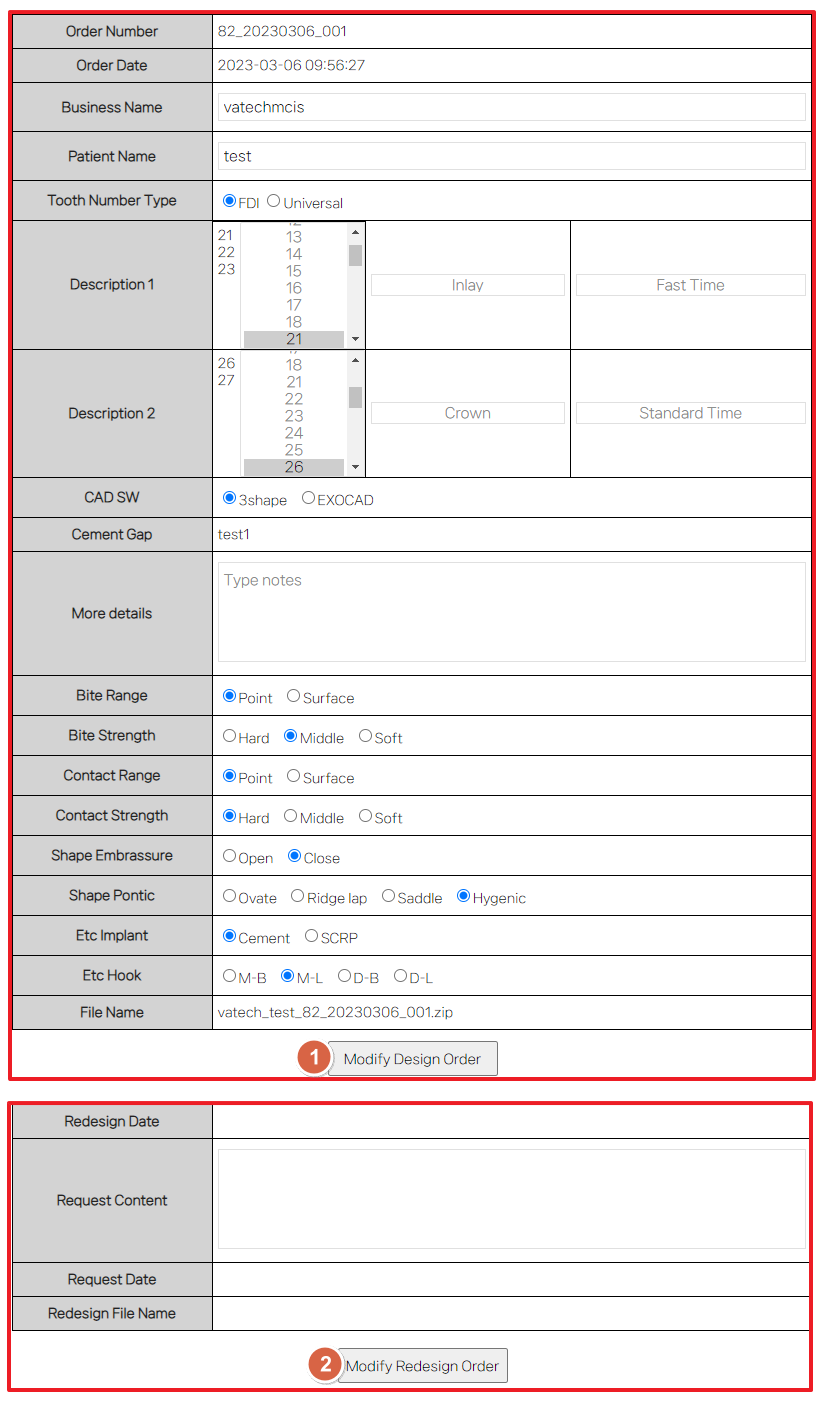
Modify order
① Edit the Order content, and click the button.
② Edit the Redesign Order content, and click the button.
-
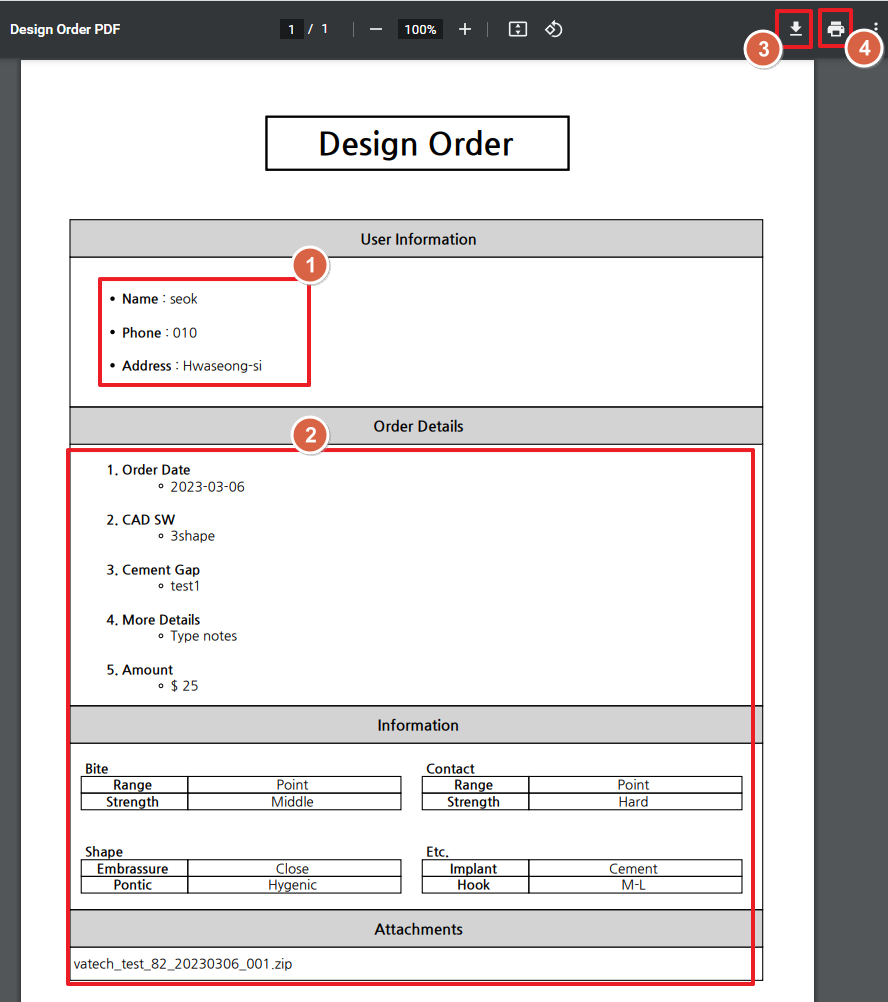
Export PDF
① This is your account information.
② The content of the Order.
③ Download the PDF file.
④ Print the PDF file.
-
Redesign
① Enter the Redesign content and click the button.

② Click 'OK'
③ When the Redesign Order is complete, it will change to the 'Redesign Modify' button.

④ Click 'OK'
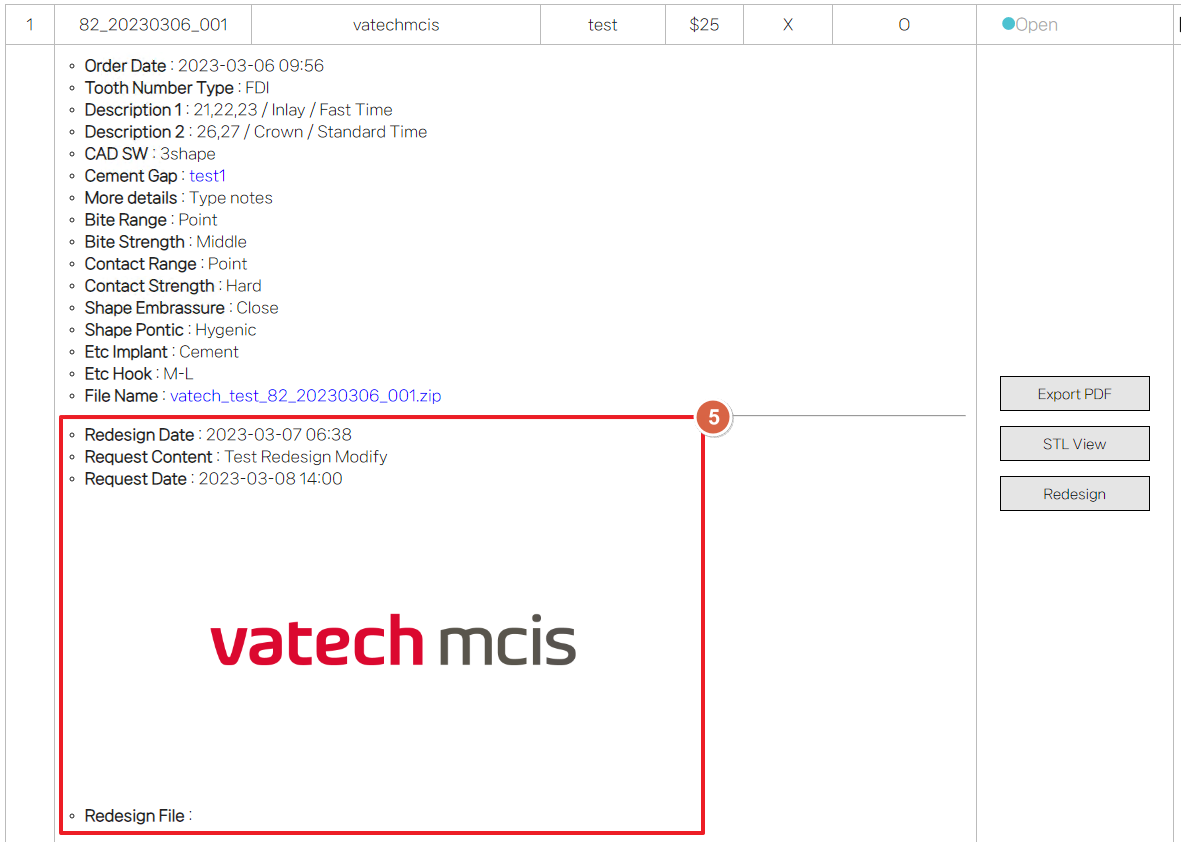
⑤ The Order List shows the contents of the Redesign.
-
-
COMPANY

-
CAD/CAM CENTER
- ACCOUNT
User Manual
(Click the table of contents to go to its contents.)

